10 Tips to Know as a First Time Vendor

Photos taken by: Connor Chilson

Linens by: Elegance with Grace

cestcalligraphyxenhancedgiftgiving

Two weekends ago, Debbie from Enhanced Gift Giving and I attended the Hawaii Bridal Expo as vendors for the first time ever! We had a lot of fun meeting everyone that came by to talk to us, even if it was for a short while. It was an amazing experience and we hope we can do it again next year. Debbie and I prepared long and hard for this special weekend, however; we still encountered obstacles along the way. I'll be sharing you ten tips (some we did and some we wish we had known) to have a successful and less chaotic expo as a first time vendor! 

1. Have a mock set up!

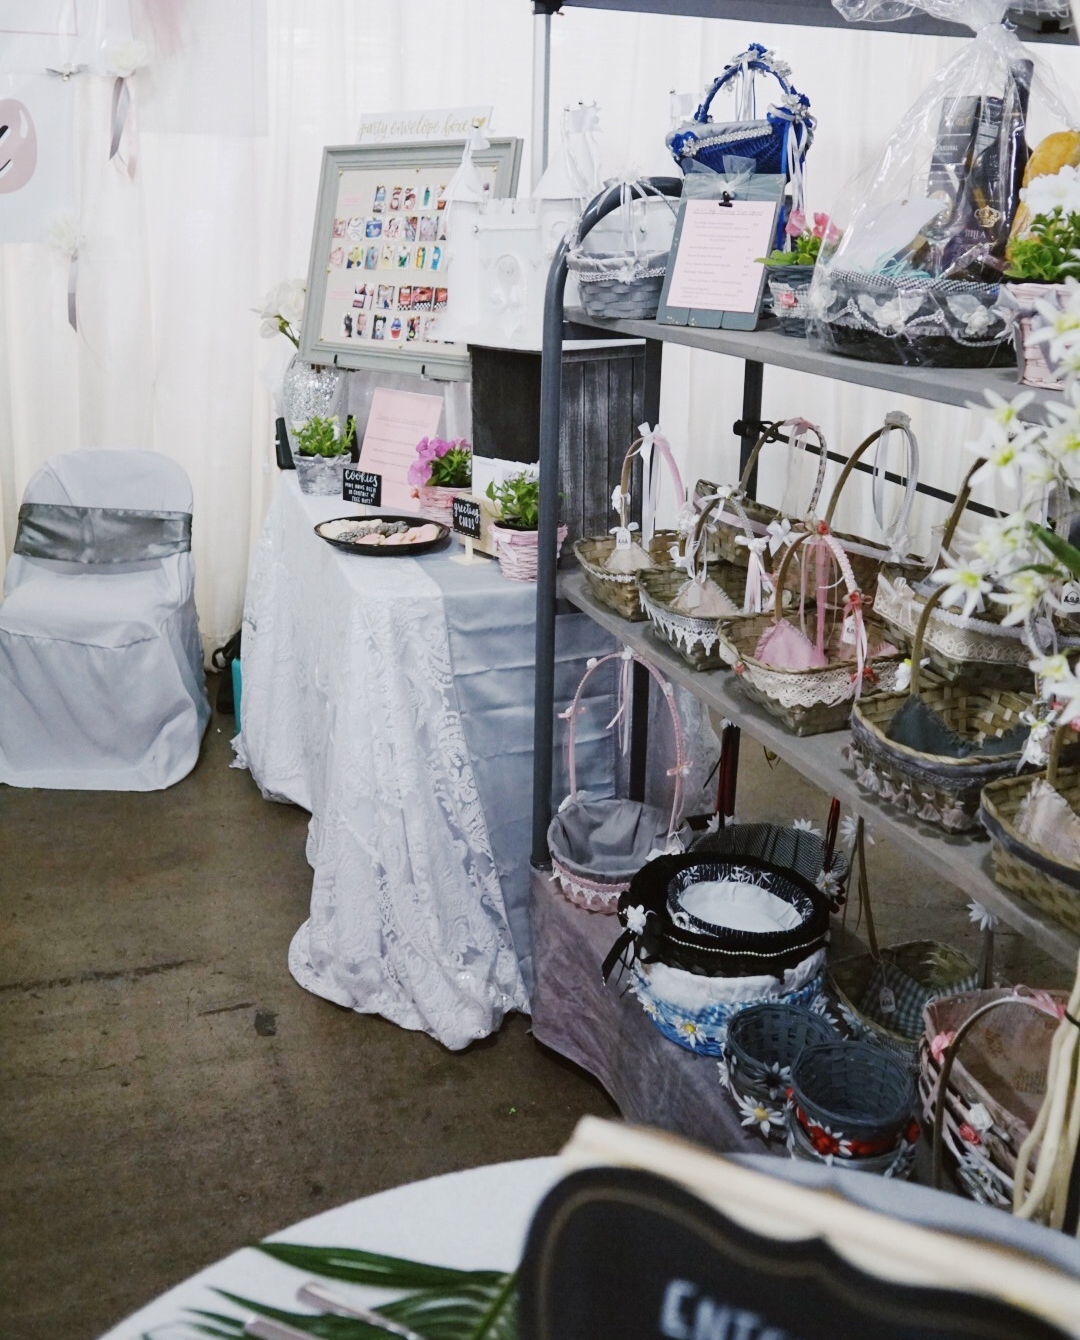
This is one tip that I wished we did. Setting up for the expo was quite stressful and that was because we underestimated the size of our booth. A 10' x 10' sounds like a lot of space! We had all the measurements of the tables and shelves we were planning to have, but we did not do the actual set up. The day of execution, we had to downsize the materials we originally wanted. Instead of two consultation tables, we had one. Rather than having six chairs, we had three. I highly recommend doing a mock set up of all the tables, shelves, and chairs you plan on having to make sure they all fit, but also be mindful of the potential foot traffic!

cestcalligraphyxenhancedgiftgiving

2. On the actual day of the expo, set up as early as you can.

Something always seems to go wrong on the day of set up such as fighting traffic, finding parking, forgetting to bring certain supplies, or change of clothes, but we prepared ourselves! We arrived at the expo at twelve in the afternoon giving us five hours to unload the cars, set up, and get ourselves ready. Debbie brought all the supplies we could need such as scissors, ribbons, s-clips to hang the banner, a ladder, bungie cords, various types of tapes, drinks, screwdriver, steamer, and more. It might seem excessive, but our goal was to make one trip without having to run to the hardware store or back home. By setting up early, we didn't have to deal with Friday traffic or find parking outside of the center.

cestcalligraphyxenhancedgiftgiving

3. Giveaways are the best way to attract guests!

As you all know, C'est Calligraphy and Enhanced Gift Giving had a giveaway table! The giveaway table really attracted guests to enter, but it also allowed them to look around the rest of the booth and ask us questions about our work. We also placed our business cards and flyers on the giveaway table so guests could grab them if they were in a rush and didn't have time to ask us questions but were interested about us.

giveawaytable

4. Aesthetic is everything!

The booth is the first thing guests will see. With that being said, I knew I wanted our booth to be minimal but eye-catching and inviting. I wanted to display our products in a way that could inspire visitors, even causing them to take a picture. It made me happy to see people take pictures of our booth because if it inspired them in anyway, I knew we were doing something right! Debbie and I also made sure the items that we would display matched our brand colors, and our outfits. We wanted our guests to remember us, if not by our name, but the way our booth looked and how it made them feel!

heartenvelopebox
placecards

5. Be sure to create informative flyers, brochures, or catalog.

Since a lot of the guests are in the beginning stages of their wedding planning, they attend the expo to see the different vendors, ask questions, and obtain vendor information. You'll only have two minutes to give your introductory speech that explains who you are, what you do, and why they need your service. However, depending on the foot traffic, you may not get to chat with everyone that comes to the booth, so most guests opt to grab business cards and flyers, and move on to the next booth. Therefore, I wish I had a more detailed flyer that listed the services that I offered, a tentative price, and a timeline, so I could provide more information to guests that did not have time to ask questions at the expo. A detailed flyer would have also come in handy for guests who prefer to discuss and decide things in private. Definitely create some sort of informative flyer or brochure that guests can later look back at after the expo.  

birdhouseenvelopebox

6. Double your marketing stationery. 

Once again I underestimated the amount of marketing stationery I needed. I made 100 flyers, 200 business cards, and 200 entry forms for the whole weekend. By the last day of the expo, I used up all my flyers, had 15 business cards left, and 12 entry forms left. Whatever number you think you'll need for business cards, flyers, entry form, and contact sheets, double it!

giveawaytable

7. Network with other vendors.

We were fortunate enough to be surrounded by amazing vendors that attracted guests to our booth. Across the booth from us was Aloha Event DJ who played amazing music, the booth next to us was Siam Thai Spa which provided free massages for 10 minutes, and two booths down was Black Book Bartending which provided drinks and appetizers. With all of these amazing vendors around us, it really set a fun and exciting atmosphere so we could get guests to come to our booth without bombarding them. A lot of other vendors also have something called a preference list, which is basically a list of different vendors that they'll give to their clients in case they were looking for other vendors. Having a supportive environment was uplifting and exciting!

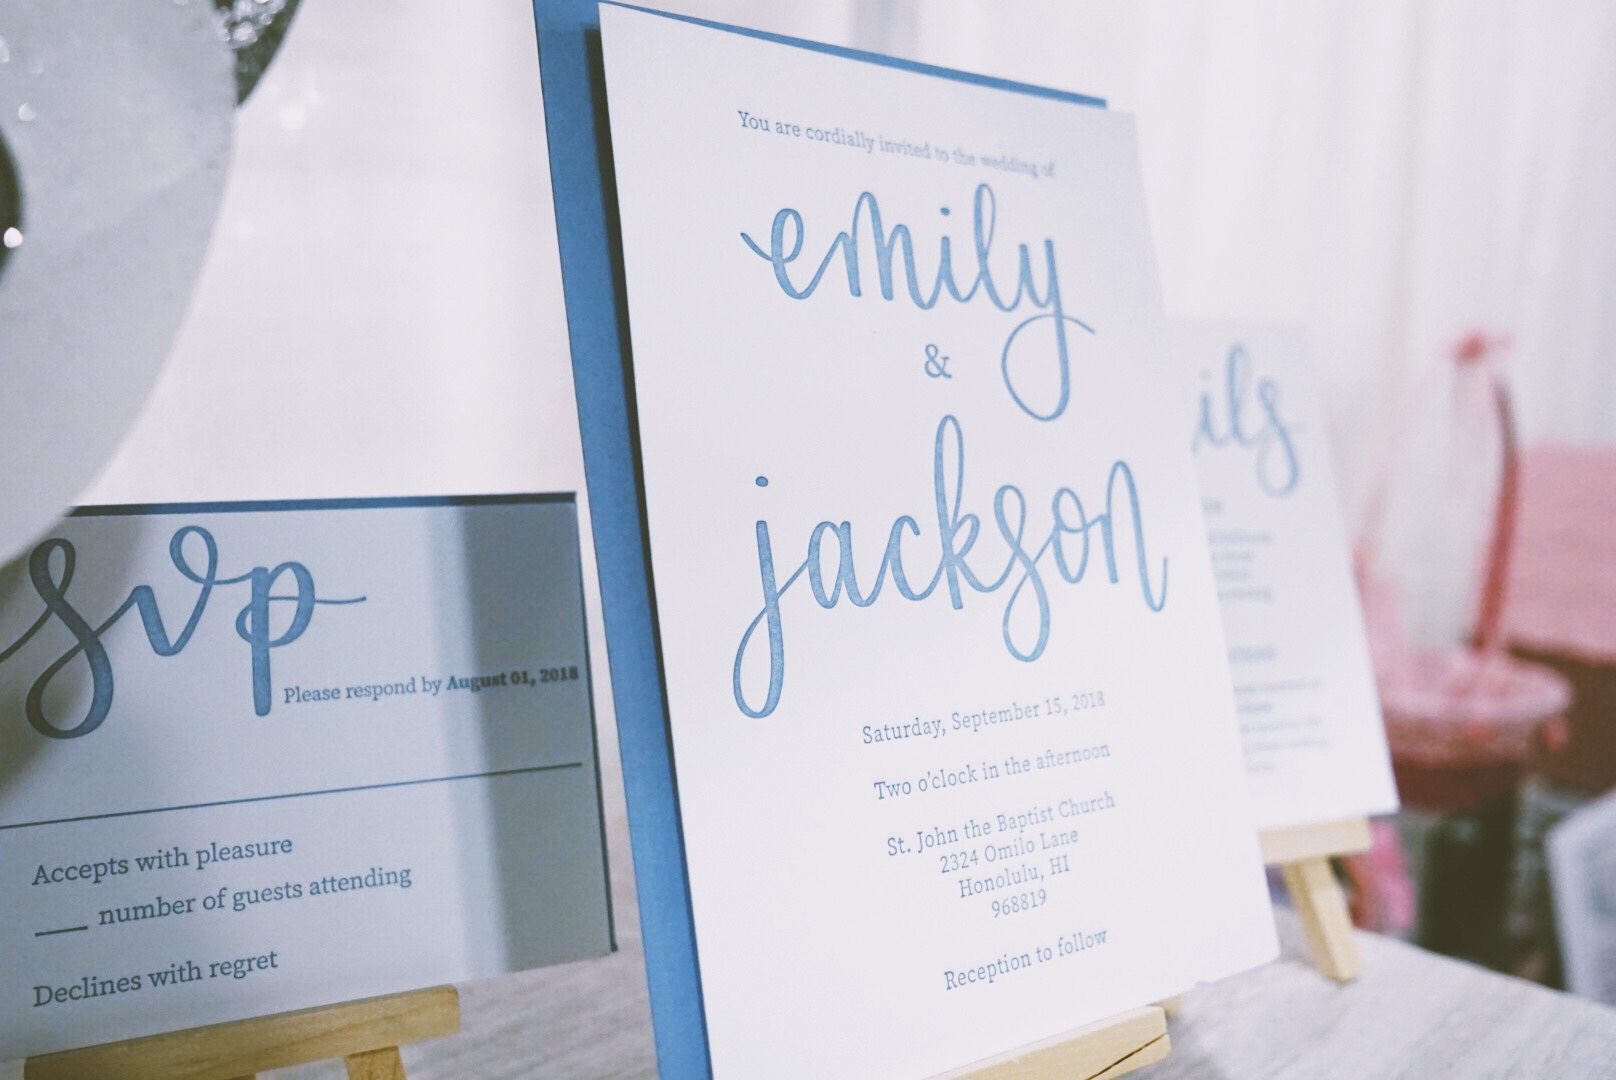
semicustominvitationsuite
babesuite

8. Greet everyone with a happy smile!

The best way to greet people is with a genuine smile on your face and say "Hello, welcome!" Smiling just creates a warm and inviting atmosphere. A lot of the times, it gets overwhelming as the guests are bombarded with so much information all in the same space, that it is just better to smile and let them choose whether or not they want to see your booth!

cestcalligraphyxenhancedgiftgiving

9. Make signs and description tags!

Signs and description tags really do make a difference. The giveaway sign doubled our giveaway entries, the social medial sign brought traffic to our social media accounts, and our banner was large enough so people could see and remember it. I wish I made description tags for my semi-custom invitation suites because a lot of people would ask how much they cost. It would have saved me time and energy if I had just wrote them down and placed it next to the invitation suites for people to see. I also wish we had name tags which would have made it easier for people to address us personally. 

diningtable
diningtable

10. Do your best and put yourself out there!

It is such a relief when you talk to other vendors and realize that everyone was where you were at one point in time. There were a handful of first timers as well who felt the same way I felt and who had the same worries I had. You realize that you aren't alone and the only way to have a successful event is to do your best and put yourself out there. Being able to connect with the vendors really helped keep the jitters and anxiety at bay, but it was talking to you folks that made everything better. If you don't know this already, I love talking to people. I love that I got to hear the romantic proposal stories, I love that I got to meet stationery lovers like me, and I love that I got to see both bride and groom being so involved in the planning of their special day. It was honestly one of the best experience of my life and I hope we get to do it again!

Leave a comment down below to let me know what was your favorite part of our booth was!

cestcalligraphyxenhancedgiftgiving

Hawaii Summer Bridal Expo

This weekend is a very big weekend for C'est Calligraphy and Enhanced Gift Giving because we'll be attending our first ever bridal expo! The Hawaii Bridal Expo happens twice a year, one in January and one in July. When I started C'est Calligraphy, I knew I needed to attend the bridal expo in order to get my name out there. So I teamed up with Debbie from Enhanced Gift Giving, reserved our booth and began planning and prepping for the event. Six months later, we are finally approaching the weekend we've been waiting for and the nerves and excitement is kicking in! This blog post is to let you guys know what to expect at our booth, so let's get started!

*For those of you who joined my newsletter list (thank you very much and welcome to the family!), you already know the main things to expect at our booth, but feel free to check out this post for all the little details that did not make the cut in my newsletter!

cestcalligraphy

1. Booth Location

The expo will take place at Neil Blaisdell Center in Honolulu, Hawaii! From Friday, July 27 thru Sunday, July 29. Check out the Hawaii Bridal Expo website for time and ticket prices. We'll be located at Booth 311! There is a chance our booth number may change at the very last minute, so follow us on Instagram to stay updated!

2. Samples of all my Semi-Custom Suites

You'll be able to see all four of my semi-custom suites in person! See it, touch it, and if you like it so much you'll be able to take some of them home for a small fee ranging from $5-$10. Samples are limited so definitely get your hands on them while its available. 

coolgirlsamples

3. Other Calligraphy Services

Besides wedding invitations, C'est Calligraphy also offers other calligraphy services (see ala carte) ranging from signage to spot calligraphy. If you don't see a service you want, feel free to ask us and we'll do our best to help you! Also, if you need us to explain what each service is, we'll be more than happy to do so!

cestcalligraphyplacecards

4. C'est Tout Greeting Card Collection

Yes, C'est Calligraphy also makes greeting cards from happy birthday to get well soon cards! Click the Shop link on my Navigation to see them! Each card comes with an envelope and an adhesive wax stamp. The inside of the card is left blank so you can personalize it. Price: $4 each.

c'esttoutcollection

5. Envelope Boxes and Flower Girl Baskets

Customize your envelope boxes and flower girl baskets to match your wedding theme. From a simple bird cage to a beautiful white castle, Enhanced Gift Giving will help your vision come to life! 

enhancedgiftgiving

6. Consultation Table

Both C'est Calligraphy and Enhanced Gift Giving will have a consultation table where you can ask us questions regarding prices and services and book us for you special day. We highly recommend coming in for a consultation so you can decide whether or not we'll be a perfect fit for you on your big day!

cestcalligraphy

7. A Bunch of Giveaways

Daily Bridal Expo Giveaway: Everyday of the bridal expo, the first three individuals to come to our booth, will win a cotton bag filled with a bunch of goodies! Here’s what you need to do: follow both @cestcalligraphy and @enhancedgiftgiving on Instagram, come to our booth, show us you follow us, and you get the prize! See my Instagram page to figure out what exactly will be in these goodie bags!

C’est Calligraphy Grand Prize: Enter for a chance to win a two-piece custom invitation suite! Restrictions apply: Flatprinting only and up to 100 invites. One person per entry. Winner will be announced on Sunday, July 29, 2018 in the evening on Instagram @cestcalligraphy. I will contact the winner via phone or email and we can begin to create amazing things together!

Enhanced Gift Giving Grand Prize: Enter for a chance to win a beautiful decorative basket! Use it as a flower girl basket or for decoration purposes. One person per entry. Winner will be announced on Sunday, July 29, 2018 in the evening on Instagram @enhancedgiftgiving. I will contact the winner via phone or email and the basket will be sent to you!

Bridal Expo Discount: If you decide we are a good fit for you and book us on the spot at the bridal expo we’ll throw in a 20% discount! If you create a file with us at the bridal expo during consultation and decide you want to book us afterwards, C’est Calligraphy will throw in a 15% discount!

shesaidyes

8. Our Products/Services go Beyond Weddings

Yes, we enjoy doing weddings, but our services does not end there. We can do bridal showers, birthday parties, anniversaries, and graduations. Definitely contact us and we can figure out what we can do for you!

9. We accept both cash and all major credit/debit cards.

We'll have cash and a card reader at the booth in case you decide to make any purchases. We accept bills $20 or less. There is also an ATM on site in case you prefer to pay in cash. 

10. Come say hello!

Debbie (from Enhanced Gift Giving) and I are very nervous, but excited to meet all of you! We worked really hard for this special weekend and we would love for you guys to see what we have to offer. Feel free to ask us questions, about anything! Don't be afraid to ask what spot calligraphy is or what letterpress printing is. We will help you as best as we can and make wedding planning a lot less stressful! Also, feel free to give us feedback because this is also a learning experience and we would love to improve and better our services!

cestcalligraphystickers

Thank you everyone for your support through this journey. We can't wait to see you all there and hope you have an amazing time! There's a lot of amazing vendors at this expo and a lot of giveaways too! Comment down below some words of encouragement to help Debbie and I calm the bridal expo jitters! 

Wanna See My Nibs? Nib Collection

This post contains affiliate links, meaning, if you click through and make a purchase, I may earn a commission at no additional cost to you. Thank you!

nibinventory.jpg

When I started my calligraphy journey, I was quite overwhelmed by the amount of nibs out there. So I started experimenting with different nibs that I could get my hands on, and figured out which worked for me and which didn't. In this post, I'll be sharing my small and intimate nib collection and give a brief description about them!

TACHIKAWA NIB

nikkog.jpg

The Nikko G nib was the first nib I ever owned and tried from the Tachikawa brand. A lot of calligraphers recommend this nib for beginners because its sturdy enough to help you learn how to control those thick downstrokes and thin upstrokes. Depending on the paper written on, the nib can collect pieces of fiber on the tip and cause clumping. I'll come back to this nib everytime I try a different calligraphy style to help maintain control over the down and upward strokes. 

HUNT NIBS

The Hunt nibs are a hit or miss for me. Depending on the paper or surface written on, these nibs could scratch, pool, clump, splatter ink, or not hold enough ink. However, when these nibs decides to work with me they make the best strokes, which is why I need them in my collection.

hunt101.jpg

Starting with the Hunt 101 nib, this nib is very flexible which allows it to create a thicker downward stroke compared to other nibs. I use this nib for spot calligraphy when I want thicker words. However, as much as I want to use this nib on  handmade paper, it tends to collect paper fibers at the tip of the nib, as well as, clump, and splatter ink. This is a problem when working on custom quotes on expensive handmade paper. Still, it makes impressive strokes, so I can't let it go.

hunt22.jpg

The Hunt 22 nib creates finer strokes compared to the Hunt 101. It is also a lot more smoother and flexible to use. This nib holds a fair amount of ink and has not clump on me so far.  I just recently discovered this nib and its starting to grow on me. This nib tends to do a lot better on handmade paper compared to Hunt 101, but I'll probably use this nib for script writing. 

BRAUSE NIBS

The Brause nibs would probably be my favorites nibs to use. These nibs are all very smooth, flexible, and write beautifully. However, they do vary in sizes and can't all fit in the basic nib holder that I have, so I am currently searching for an adjustable nib holder that can hold all the nibs in my collection.

bruasesteno361bluepumpkin.jpg

The "Blue Pumpkin" or the Brause Steno 361 is my favorite nib ever! For technical reasons, its smooth, flexible, holds a decent amount of ink, and has work on all surfaces and papers. I never had a problem with the Blue Pumpkin clumping, splattering, or pooling and hope I never do. Its the nib I use for all my special projects like envelope addressing, wedding invitations, spot calligraphy, and copperplate calligraphy practice. Also, for personal reasons, the Blue Pumpkin was the nib I used to create the holiday cards that lead to the birth of C'est Calligraphy. So yes, I have a very deep emotional tie to this nib!

bruase76rose.jpg

As for the Brause Rose 76 nib, it is very similar to the Blue Pumpkin but a bit more flexible. It creates thicker downstrokes like the Hunt 101 does, but doesn't create the same problems. This is the newest nib in my collection, and I've only used it maybe three times to test how it writes, but I do know that this nib will be used very similar to how I use the Blue Pumpkin. 

brause56ef.jpg

The  Brause 56EF or the Brause Arrow is the tiniest nib that I own. Due to its size, it doesn't hold a lot of ink, but it is my go-to nib when working on textured surfaces like agate slices, marble, stones, and tiles because it writes so smoothly. However, there was an incident when this nib had fallen out of its holder while in the middle of writing a custom quote which cause the ink to splatter and I had to redo everything. It really is a great nib though, but I'll use it more often when I get the right nib holder.

LEONARDT NIBS

hiroleondardt41.jpg

I first came across the Leonardt nibs when I saw a set of them in a local art shop. After testing them out, only two of the five nibs gravitated to me that I repurchased them. The first is the Leonardt 41. Its almost a flat headed nib, but it writes smoothly, is very flexible, and holds a decent amount of ink. I use this nib a lot for spot calligraphy and copperplate calligraphy practice. 

leonardt33.jpg

The last nib in my collection is the Leonardt 33. The Leonardt 33 is another tiny nib. I use this nib very similarly to the way I use the Brause EF56. Works very well on various types of textures and surfaces. Due to its size it doesn't hold a lot of ink and it also requires a specific nib holder. Fortunately, the nib holder came with the set so I've been using that for now. 

I hope you enjoyed my small but very intimate nib collection! If you have any recommendations of any nibs you think I should try, leave a comment down below! I really love experimenting with new nibs. Also, let me know your favorite and least favorite nibs! Until next time!

What's in my Calligraphy Travel Kit?

This post contains affiliate links, meaning, if you click through and make a purchase, I may earn a commission at no additional cost to you. Thank you!

 
7583878720_IMG_1296.jpg

As much as I would love to have an office/studio space designed for my calligraphy projects, I am not yet there. Therefore, I basically practice calligraphy anywhere there is a chair and a table, which includes the breakroom at work, my boyfriend's living room (where C'est Calligraphy was born), and cute cafes. However, lugging around my large ArtBin to these places became a hassle so it was time for me to find a smaller ArtBin. When I went to my local art shop, I found the perfect ArtBin that was lightweight, compact, but big enough to carry all my necessary supplies. Now let's dig into my new calligraphy travel kit!

7583878720_IMG_1316.jpg

            The first row holds all of my nib holders. These are just the basic nib holders you’ll find at any local art stores. I have both straight and oblique nib holders and so far they seem to hold a variety of nibs fairly. I recently purchased this grey oblique holder from Laura Hopper Calligraphy and it’s so lightweight and thin I’m obsessed with it. However, it doesn’t hold my Hunt 101 nib or any nib smaller than that. I am really interested in investing in a fancier nib holder, but I have yet to do the research on it so if you have any recommendations I would love to hear from you!

7583878720_IMG_1327.jpg

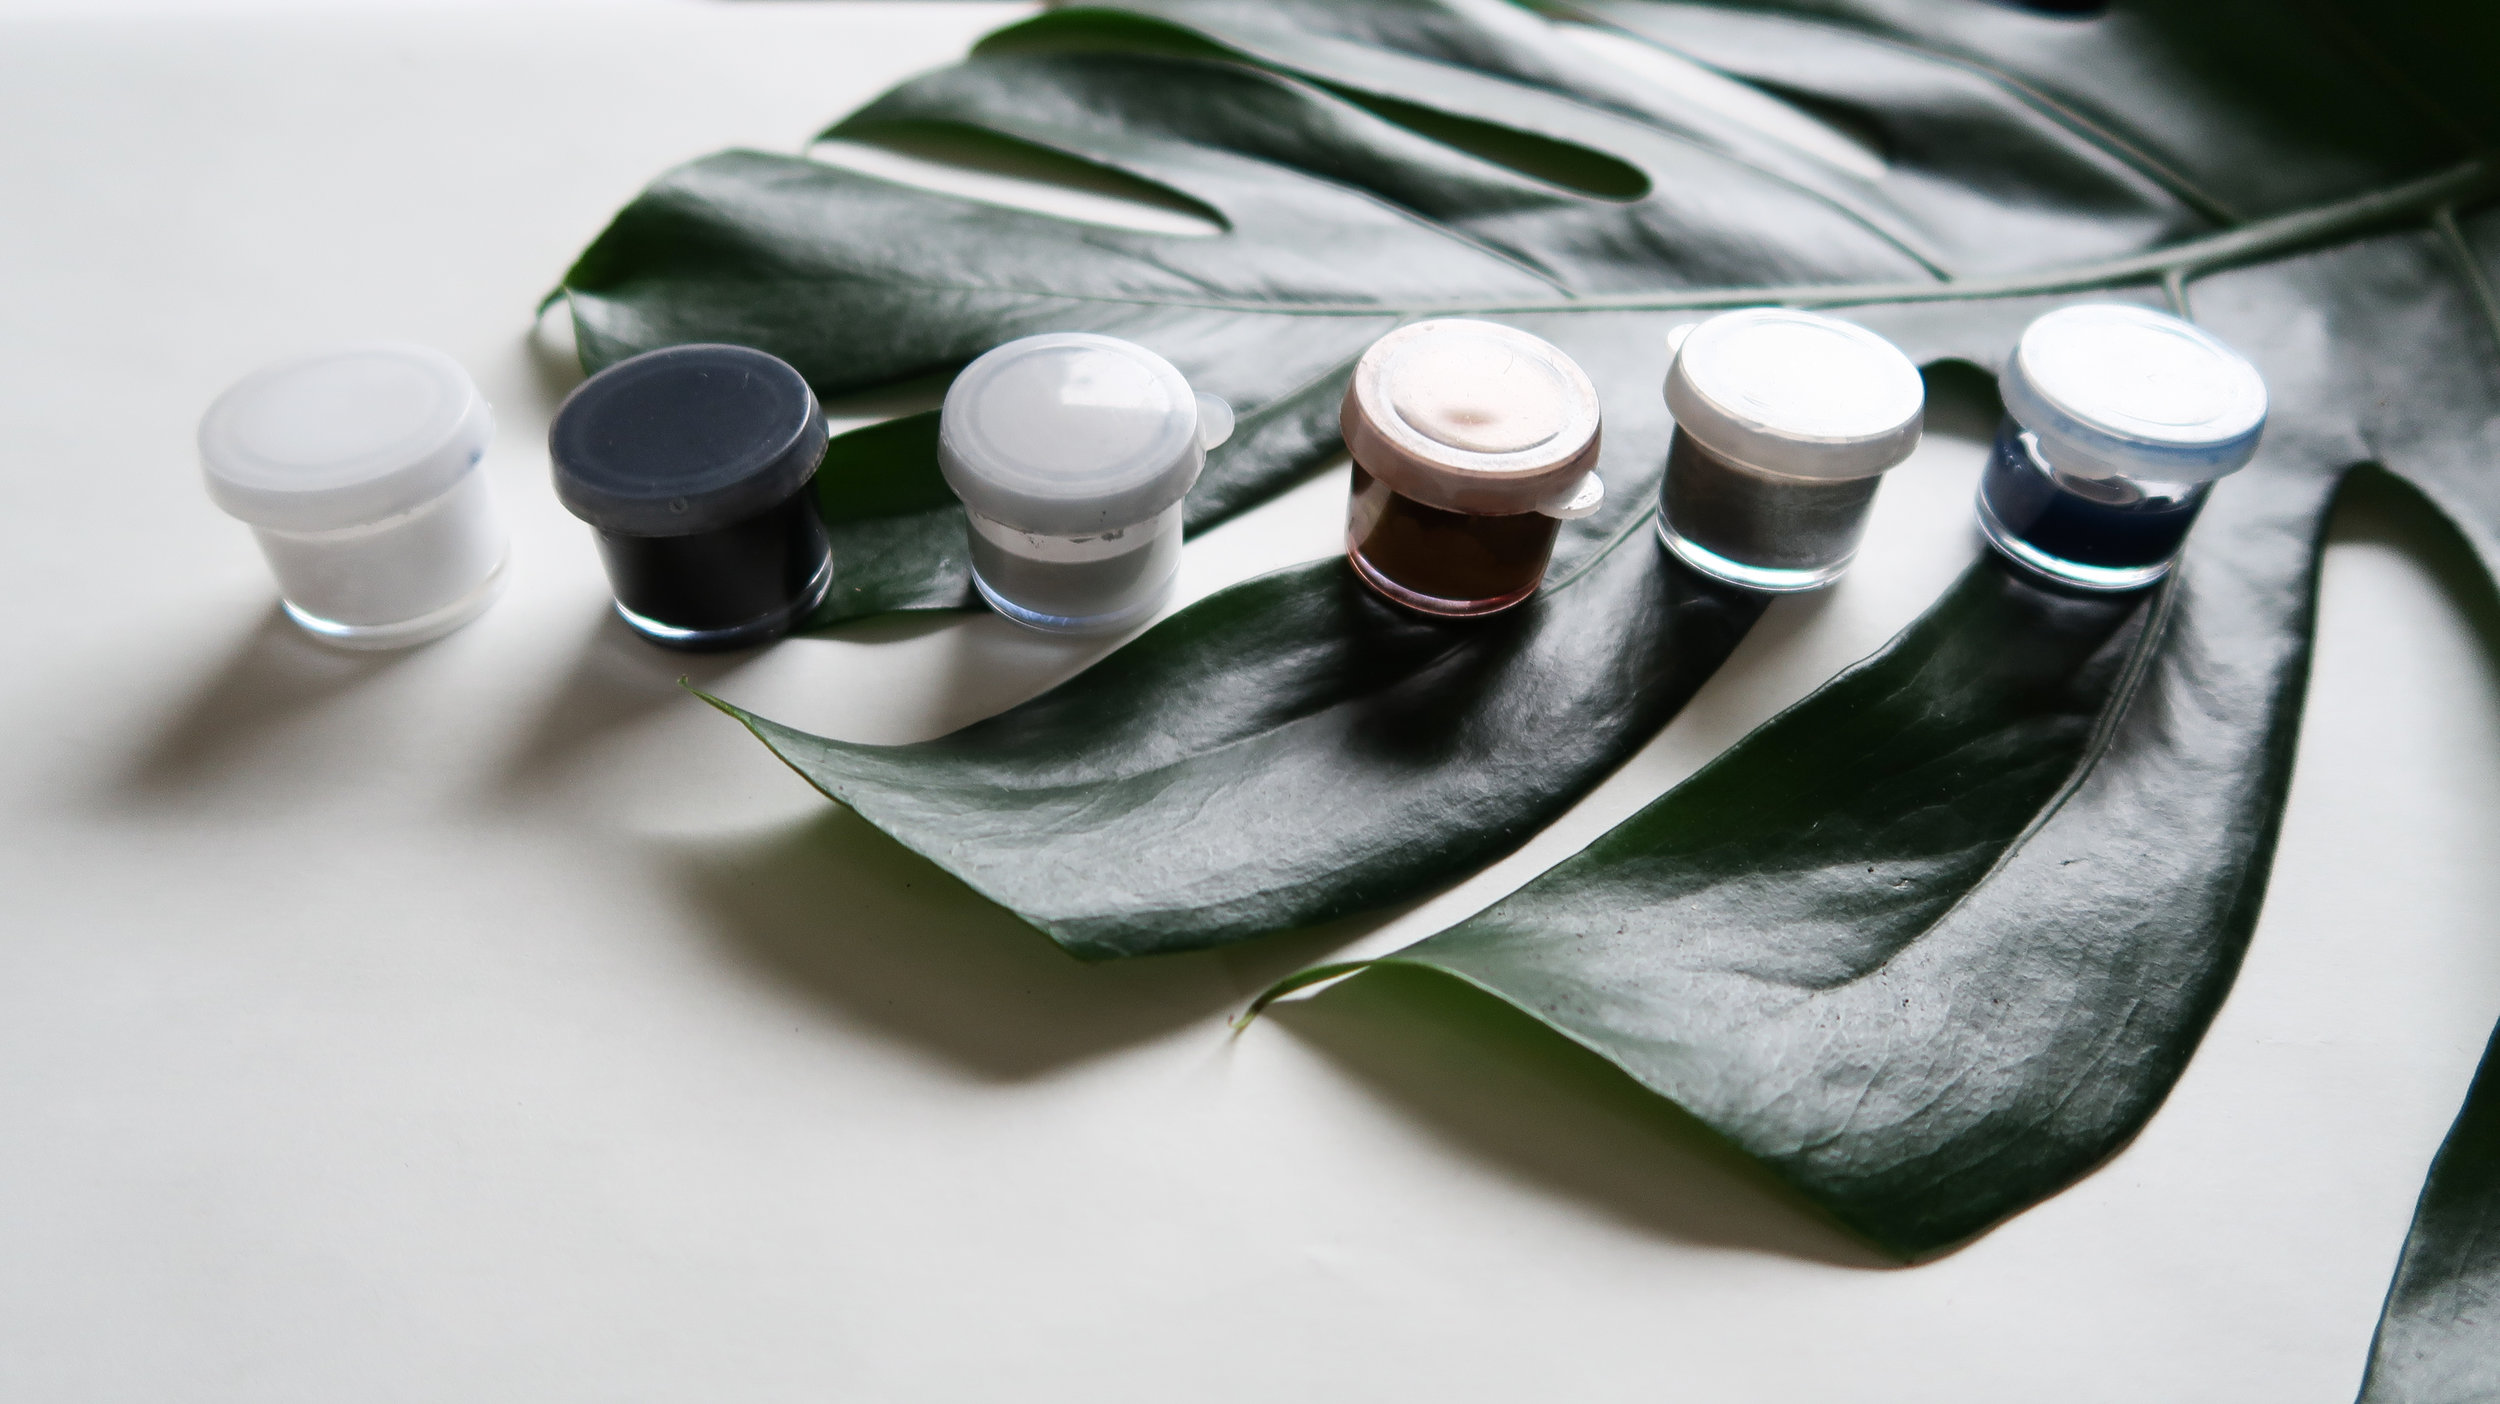
            The second row is where I place all of my most used inks! I transferred them into their own mini paint jars. These mini jars fit perfectly in the ArtBin, hold a decent amount of ink, and closes well enough to prevent any ink spill. For iridescent inks and gouache inks I give them a shake before opening because pigment particles tend to collect at the bottom. Along with my inks, I also carry a pen cleaner to remove all the dried ink off my nibs, which is important for the longeivity of the nib.

7583878720_IMG_1342.jpg
7583878720_IMG_1335.jpg

            The last row is where I hold my watercolor brushes and nib container. Since I am constantly practicing and improving my watercolor calligraphy, I tend to carry my calligraphy brushes everywhere I go. My watercolor brushes are a collection of the Sakura watercolor brushes in medium, and large, Winston and Newton Round 2 and 6, and Princeton Elite Round 3/0, 0, 1. Finding the right brushes for watercolor calligraphy is still an ongoing trial. So far I am loving the Princeton Elite Round 0 brush because it gives an amazing thick downward stroke and a very fine upward stroke. However, the Sakura watercolor brushes are a bit sturdier and are great for beginners who needs to learn how to manipulate the brush tip. Besides the brushes, I also have a compact watercolor paint kit from Koi as well that travels with me, but in case I forget my watercolor kit, I can always use my gouache ink to practice watercolor calligraphy.

7583878720_IMG_1344.jpg

            Last, but not least, are my nibs. My nib container came with a of set of D. Leondart nibs and I absolutely love this container. It’s cute, compact, and sturdy. I try my best to clean my nibs and place them back into the nib container to prevent them from rusting. My nibs are a collection of Hunt 101, D. Leondart nibs, Nikko G, and Brause Steno 360, and Brause Rose. I will provide a full nib collection in the next post, but for now, let me know what you carry in your calligraphy travel kit!


7583878720_IMG_1376.jpg